Finding brushes can be a daunting and albeit exhilarating scavenger hunt. My eyes immediately navigate to the alluring, beautifully formed brushes that glisten with "Michelangelo Approved" written all over it. Of course, they bear a price tag which sends me with slumped shoulders to the other end of the aisle in which the student grade brushes await my grasp.
As I have asked myself time and again, when is it a good time to invest in quality and does that lofty price tag mean a better brush? In fact, with all these market-friendly books on Art How-To's which is right and which one do I trust?
I over-think all these things and I ask these same questions with what paints, pencils, varnishes, solvents, boards, blah blah blah, do I choose for my project-in-waiting?
So, I bring this blog in on my quest. Finding Master's Approved Techniques and Materials for me, the modern artist. Me, the girl who cannot afford Florence Academies and who wishes I lived there a few hundred years ago- sans Black Death and all that.
So first on my list... Brushes
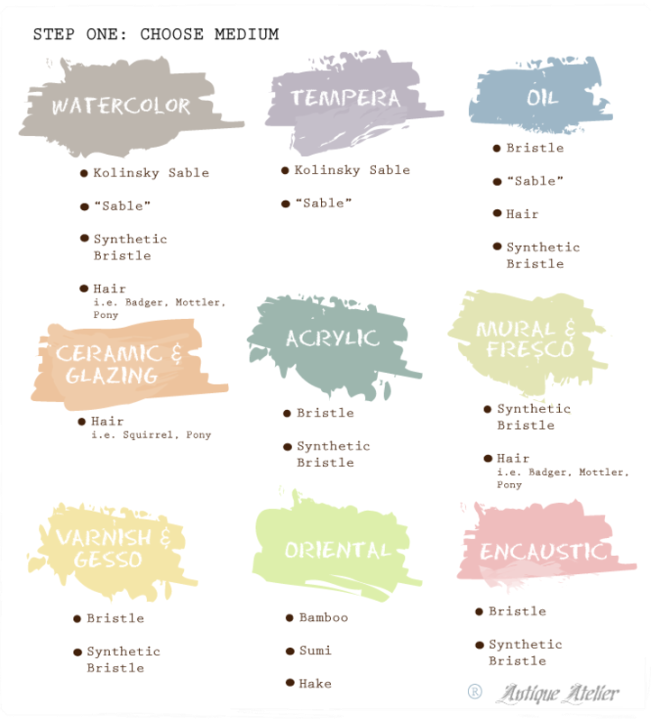
STEP ONE: Choose your medium.
If you are short on money, go for the types of brushes that would apply to the most mediums you use. That being said, this is perhaps one of the most important tools you can purchase. Buying the cheapy sets are alright for craft projects, but getting poorly bundled brush hairs in your work can make your finished project look unprofessional and can be quite a pain when you finally see that hair and have to rework the area after you pried the hair off the piece.
So lets talk brush types...
"There were two types of brushes used by painters, one made by pig or hog, the other with fine hairs from squirrel or fox tails. ...Pinceaux (fine or small brushes) and brosses a tas (bristle brushes) and harbensel (hair brushes)" -Nash, Susie. Oxford History of Art: Northern Renaissance Art.
Bristle Brushes

- Info: Coarse, natural hairs from hogs and boars. These bristle brushes are good for thick applications not detail, portraits. (Boars are from China, Switzerland, France, Russia, India and Balkan Mountains of eastern Europe.)
- Fun Fact: Did you know that Michelangelo used hog bristle brushes in painting the Sistine Chapel? Hog Bristles were commonly used by many of the great Masters.
- Great for: Oils, Acrylics and Lacquers
- Production: Bristles are chosen from the backs of the animal (from neck to tail) and sterilized. Then they are gathered by hand, and set with an adhesive, are bound by a ferrule which is crimped to the handle.
- Cleaning: The brushes are sensitive to harsh cleaning solvents (typically the strong odor ones). Use water, alcohol or mineral spirits or brush cleaning pink soaps.
- Painting Surface: Porcelain, Unfinished woods, Canvas, Rough Surfaces; Clay or Hard Boards
- Colors: Black, brown, grey or white (finest ones are natural white), some are bleached (which can be weakened by bleaching)
- What to look for: Flagged Tips (like human hair's split ends or straw flayed ends) the tip has 2-3 points called flags. These flags enable the brush to hold more paint; lots of crimps in the ferrule; good straight-grained wood handles.
- Avoid: Trimmed (no-flag) brushes, bleached white, single crimps in the ferrule (two crimps are a step up, not great.)
- Starting Set: Purchase Small and Medium Round, Medium Sized Flat, Large Flat, Medium Filbert and Blender.
- Sizes: not standard; each brand may vary from others.
- Personal View: I like them for beginning my work, but I quickly switch to sable brushes that offer better blending.
Hair Brushes
including Sable Brushes (Mink, ermine, marten, kolinskie, weasel, squirrel, ox, fitch, goat, skunk, badger)

- Info: Mainly for glazing and fine detail work or blending
- Great for: Watercolor, oil, egg tempera
- Production: wild Russian Kolinskies produce the longest hairs compared to those raised on farms; plucked, gathered, set, bellies swell to a fine point
- Painting Surface: Canvas, Paper, Original (non-acrylic) gessoed wood panels,
- What to look for: I heard a teacher mention once, that he would go into his local art store, and test them by washing them (swirling them in a cup of water) and when the stiff glue was removed- snap his wrist to remove the water, if the brush hairs came to a perfect point it would be a winner. Russian Kolinsky Sable are wonderful for tempera and watercolor. If you have the money, go for it. I also prefer the short handle varieties.
- Avoid: Expensive brushes for your thick mediums (i.e. oil) as they don't last long.
- Starting Set: A few that you like- preferably rounds.
- Sizes: not standard; each brand may vary from others.
- Personal View: Some of my favorites. They don't hold much paint which I love.

Rounds
Form: comes to a standard rounded tip; round ferrule
Usage: use in all painting mediums, great for detail work, washes, pushing clay bole in tempera, and much more.
Pointed Rounds
Form: the tip is narrower than the standard rounds, with a sharper point; also detail rounds are shorter in length but still hold a lot of color ; round ferrule
Usage: Fine details, retouching, fills, short highlights and details
Flat
Form: square end, med-long hairs, flat ferrule
Usage: all medias, especially heavier bodied paints as it holds them better, great for edges, washes
Bright
Form: Similar to flats, however these have a curved tip and shorter hairs; flat ferrule
Usage: most medias, including oils, acrylic, decorative projects, lots of control available to artist
Filbert
Form: Oval tip, medium to long hairs, long handles; flat ferrule
Usage: blending or softening edges, portrait and figurative studies,
Look for: Natural hairs as they pass the "wet" test and hold together better.
Fan
Form: similar to an actual hand held, asian fan which spreads from center ferrule; flat ferrule
Usage: Blending and smoothing out colors, portraits, decorative usage
Script/Liners:
Form: long hairs, typically small amount of hairs, often short handle which provides greater control; round ferrule (like pen tips)
Usage: Lettering, highlights, tempera highlights and fonts, even calligraphy,
Wash/Mops
Form: many sizes, flat and pointed flats, oval, rounded; mostly flat ferrules
Usage: washes, layering, watercolors, watering down and absorbing excess water
**Updates coming soon on more brushes.**
Pictures of brushes are from www.dickblick.com and Kalinsky
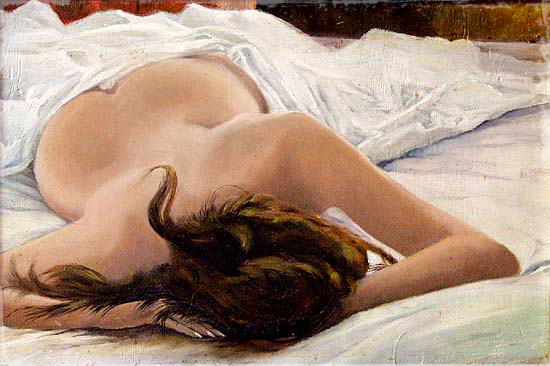 Don't wake me up... I was up late drawing and I do NOT want to go to work.
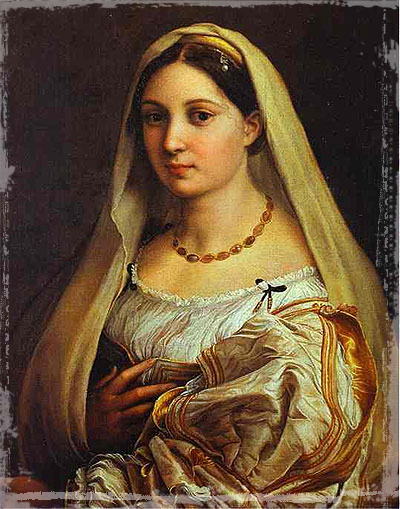 Despite warring with myself,
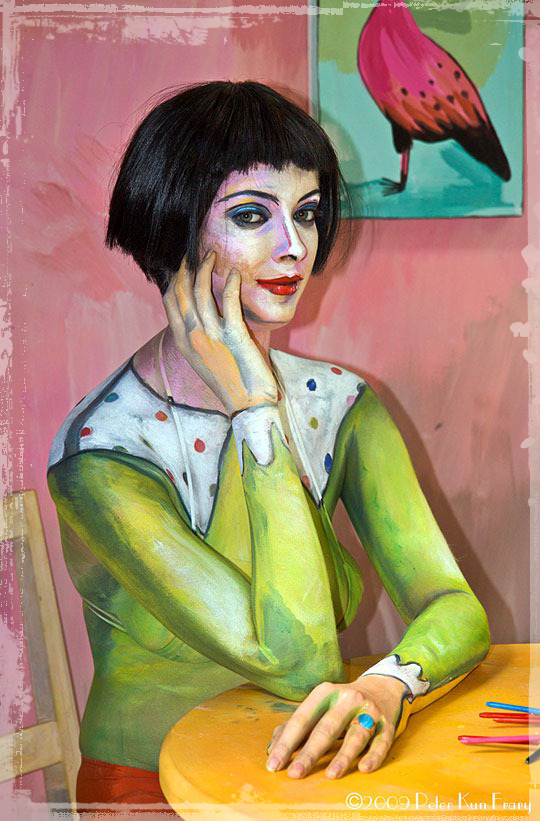 My day as a secretary begins. Goodbye art- hello data entry.
 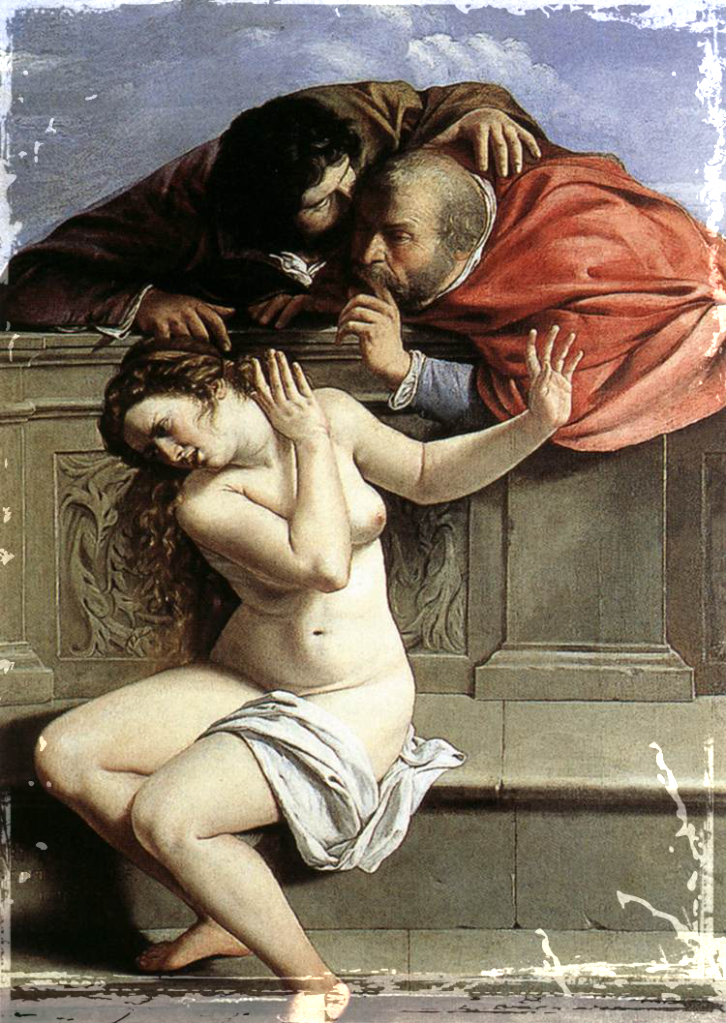 Stop the paperwork! No More! I tell you- NO MORE!
 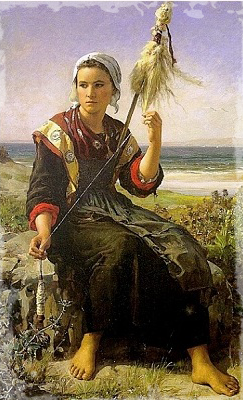 I wave the white flag.
 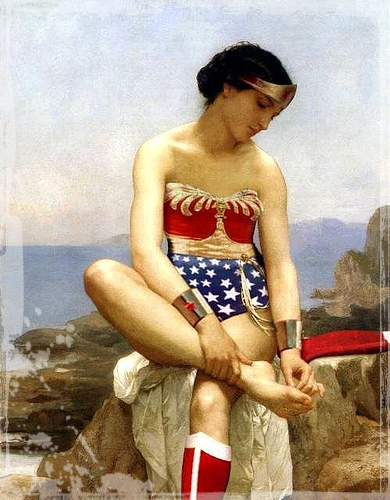 Meet my alter-ego:: "Transformer Girl."
 Not without a little help.
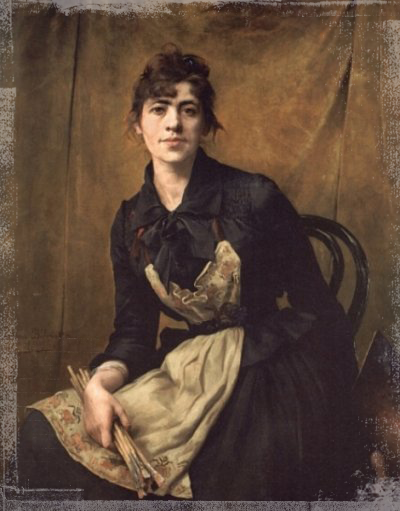 Thank God! I'm back.
 A slight interruption.
 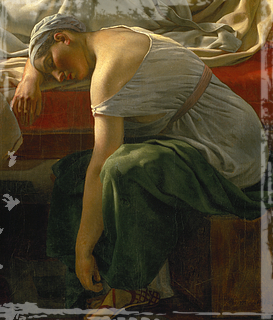 And a few hours of rest before it all starts over again.